
What is a seat shampoo? Who would want their seats to be shampooed? How does it work? How long does it take to dry? These are all great questions we will answer below.
Since you own a car, you know that the current trend is for them to become ‘more’. More powerful, more efficient, more comfortable, more tech, more refined. Which also means they have become more complex. Can you tell the difference between nylon, polyester, and vinyl? What about leather? Can’t clean it the same way as the other ones.
So let’s walk you through a seat shampoo, step by step. Here are the four steps you want to know about if you want to DIY deep clean your upholstery.
– the first thing you want to do of course is hoover the seats thoroughly. You should definitely invest in industrial hoovers as we know dirt, food, pet hair, and much much more (you would be amazed!) can build up inside vehicles. That’s what we did!
– for areas that we know will need special attention, we recommend using a steam cleaner to break off patches of the Nasty Stuff. We’re talking about ink, food stains, sweat, shoe marks, blood (oh yes). Blast those guys with a localised and focused jet of water to pre-clean the area to get the best results possible at the end of the valet.
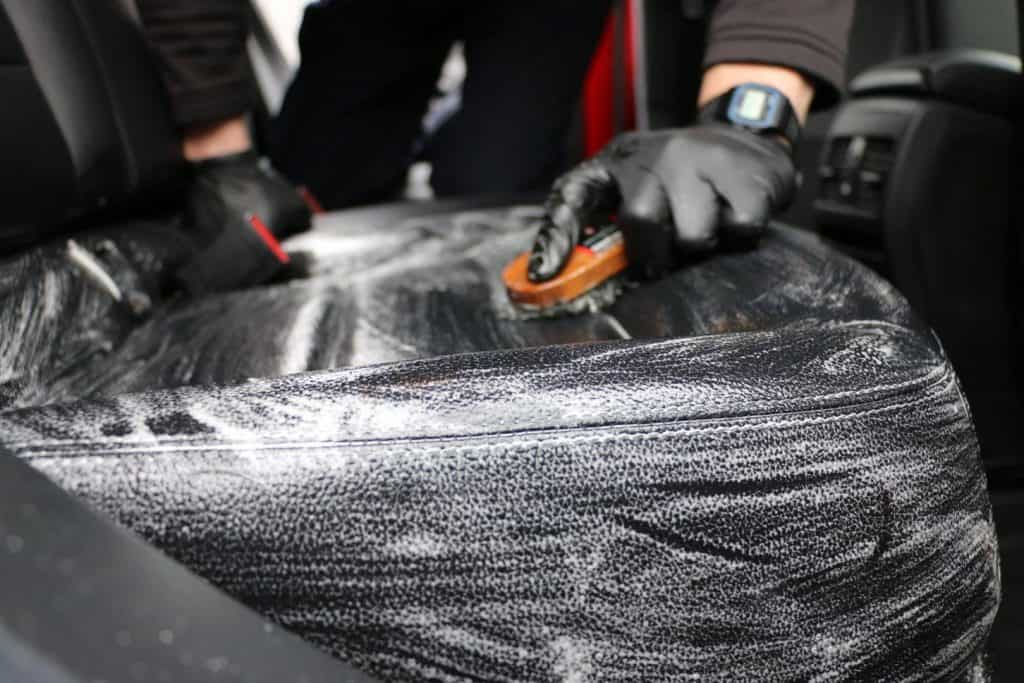
– then you want to soak the seats with an anti-bacterial shampoo that smells real nice. No fancy secret or magic product for this step: just some good old elbow grease! The trick is to scrub really hard to loosen the dirt that has accumulated on the surface of the seats. Get scrubbing!
– you want to use an extraction hoover for this final step, where the shampoo is rinsed off by shooting water into the seats (hard core stuff!) and sucking it straight back up along with the muck that has been loosened up. So long, muck! We do try our very best to leave your seats and your bum as dry as possible, but it can take up to a couple of days for the fabric to get back to normal. Just put the heating on for a while, it will do the trick!

Still think you could do a seat shampoo on your own? Well what about leather seats then? Things ARE slightly different for leather. Definitely not a myth. Blasting water in leather seats sounds like a one star review waiting to happen… Don’t do it… So how different is it, and how should you do it?
– let’s need to start right at the beginning with the hoover: you will need to mount a brush on it in order to avoid scratching the leather. Streaks disappear on cloth, but they would leave permanent marks on leather. The brush that you use needs to have horse hair bristles only as anything less gentle would permanently damage the surface of the seats during the shampoo.
– the same idea applies during the steam clean phase: direct exposure to steam would burn leather. So you want to steam clean the seats over a cloth to protect them: you still get the benefits from the heat and manage to open the pores in the leather to prepare it for what is to come. Win – win.
– bearing in mind that leather used to be part of something much bigger and very much alive, the chemicals you end up using have to achieve very different things than the ones used on cloth. Leather needs to hold moisture in, so it does not dry out and start cracking and tearing. So what you do not want to do is use a degreasing product.
– the final touch to a seat shampoo on leather is a conditioner. Again, this comes from the fact that leather used to be alive and to some extent still is. Because leather ‘breathes’ and holds moisture in, it can become a breeding ground for bacteria. So go ahead and apply a protective film that will prevent the bacteria from spreading but will still allow the leather to breathe. Congratulations, you have deep-cleaned your car like a pro!

Now, if you feel like this might be a little bit more effort than you are willing to or have time to put in to your car, you could get a seat shampoo included in all our full valets (apart from our Mini Valet). So let us know when your car has seen enough BBQ sauce and crayons, and needs some TLC.